Monday, 22 October 2012

plaster cast all made ... delighted how it turned out .. pitty an air bubble or two got caught


Decided the best way to show my plaster cast is to present it in video form ... bringing the 3d back to 2d

Sunday, 21 October 2012

a mix of plaster was mixed into the boot to create a mould for the actual plaster next

it was one of the weirdest experience ever .. it was like a suction cup taking my foot out

Debating the best way to present my cast work

WE'll start with the the boot i made to cast my foot ... it was composed out of a simple block of wood for the base .. i then used card to make the outter shape of the boot and insulated the piece with masking tape

i then cut a hole to make sure my foot could easily fit in and out

Embedded image permalink


Wednesday, 17 October 2012

We see here the original back of the foot , i used a spring coil shape for it's base followed by an inside frame to give it a sturdyness so that it can stand upright without aid
To attach all the components of the toe together and to attach this the main structure , i wrapped a thin wire continuously around the edges. Notice the loop at the top, this was used as a joint to give flexibility to the toe.

Top view of piece before being all attached.

Rear view of piece

Front elevation

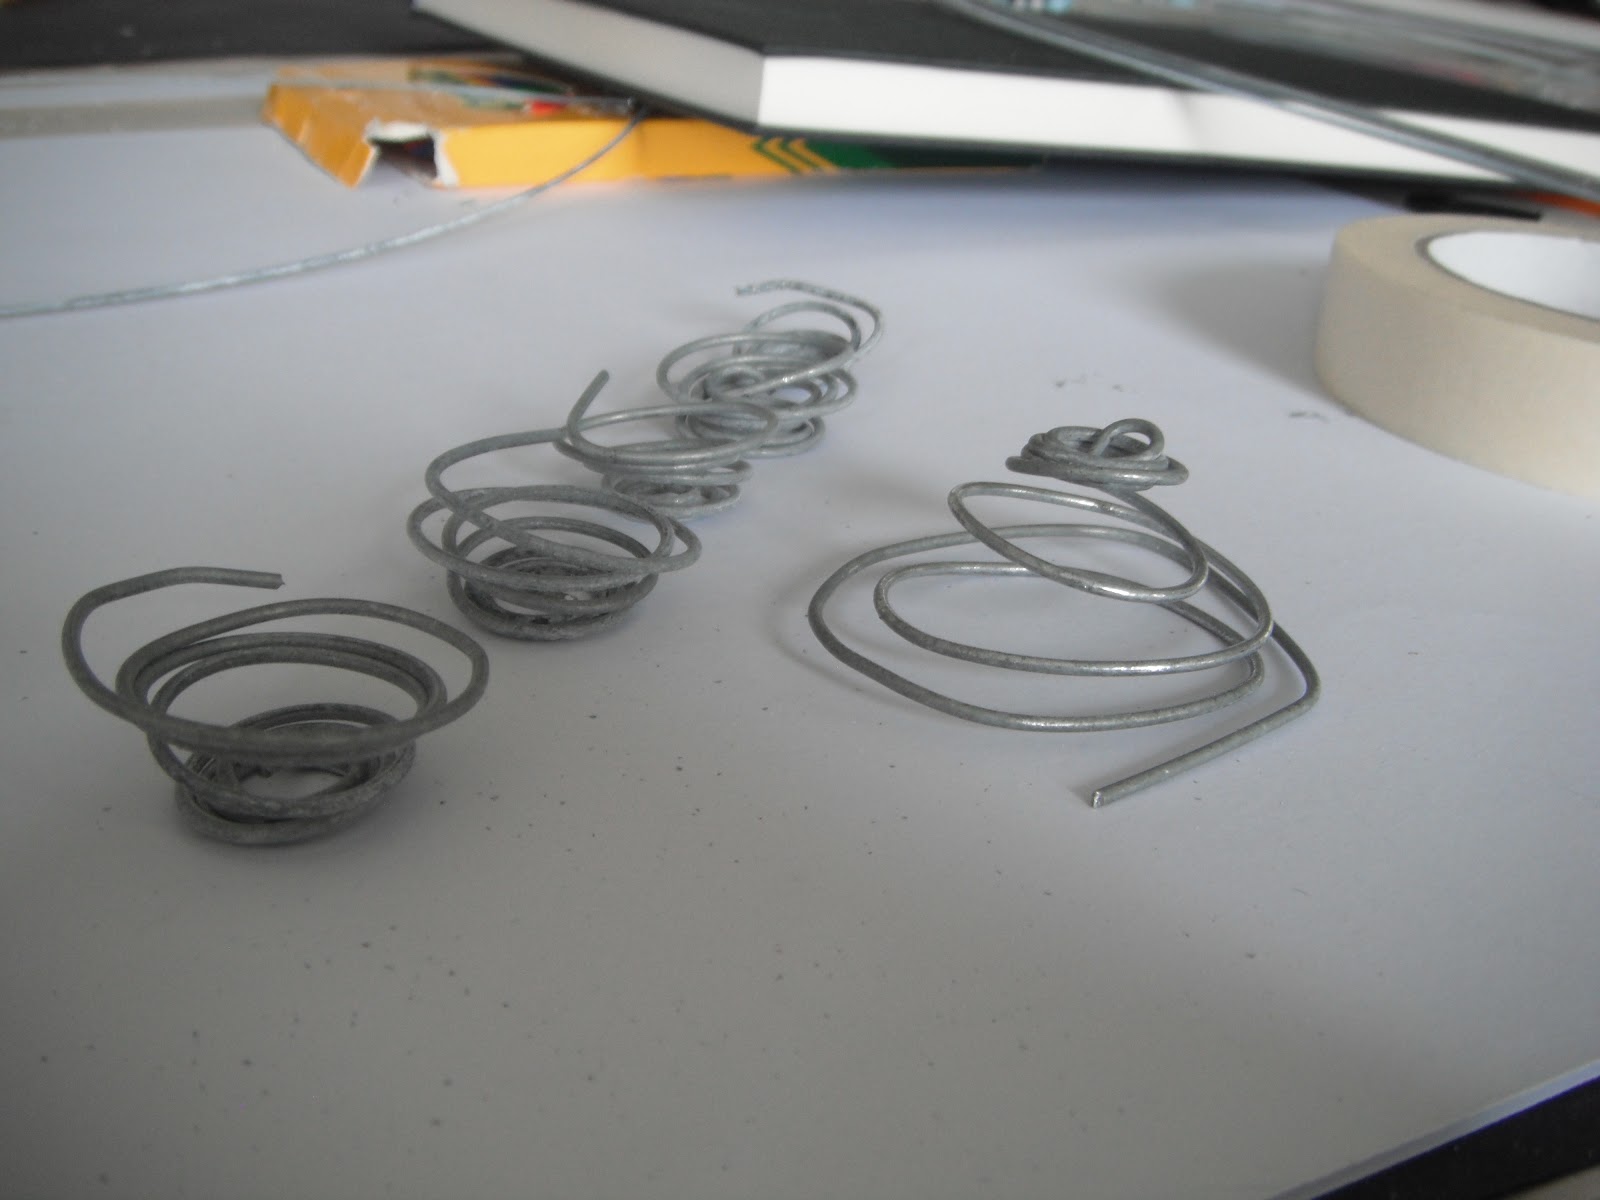
The same top view but on white paper the accentuate the strands of wire.

I started this sculpture by twisting wire into a concentric circle design to mimic the ridges of the foot


I next coiled wire into a barrel shape to replicate the top of the toe


The 5 toes together .. unpaired 2b pencil beside to show scale

Rear view of top of foot .. this was the heel of the sculpture


Behind the toes are two springy coils of wire , these are the balls of the foot